After another six months of hard work, the famous KDE Software Compilation (SC) suite reached version 4.4.0 on February 9th, 2010. With over 7,000 bugs squashed, over 1,400 new features, new applications, new effects, the KDE SC 4.4.0 is composed of the KDE Plasma Workspace, the KDE Applications and the KDE Development Platform and it introduces window tabbing, netbook interface, authentication framework and social networking support. With this said, the KDE SC 4.4.0 is still the most beautiful and modern desktop environment to date!
Today's tutorial is for those of you who don't want to wait until late April for the Kubuntu 10.04 (Karmic Koala) release, which will come with a default KDE SC 4.4.0 installation. With this guide, we will teach you, step by step, how to install the brand-new KDE SC 4.4.0 on your existing Ubuntu 9.10 (Karmic Koala) installation.
Editor's note: To eliminate the "terminal madness" for Linux beginners, we've used apt-url links in this tutorial. So, just click the links where it says "click the 'Install' button to install..." and a confirmation dialog will appear. Special thanks go to the Kubuntu developers for preparing the KDE SC 4.4 repos in such a short time, as usual!
Step 1 - Add KDE SC 4.4 Repositories
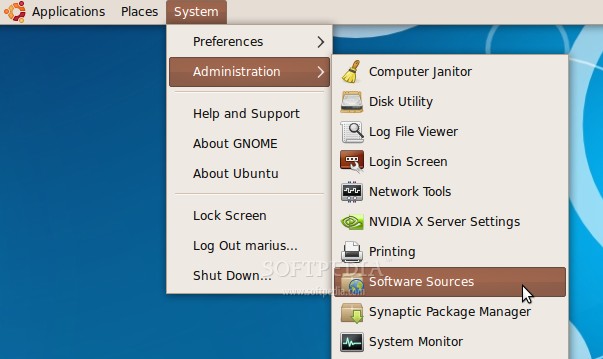
Go to System -> Administration -> Software Sources...
 |
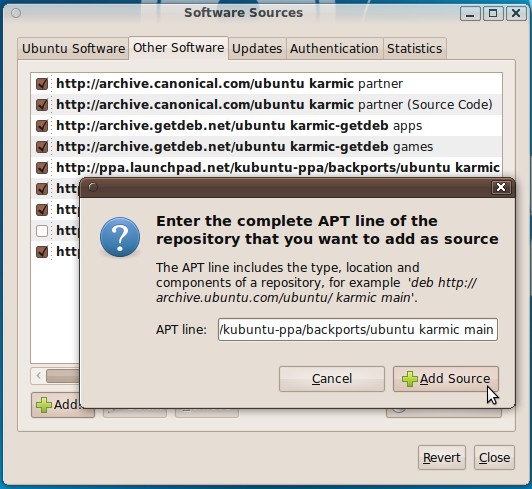
deb http://ppa.launchpad.net/kubuntu-ppa/backports/ubuntu karmic main
Then, click on the "Add Source" button...
 |
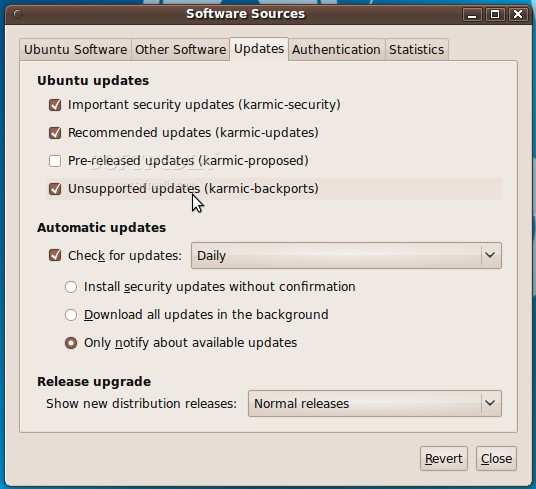
Go to the third tab, "Updates," and check the "Unsupported updates (karmic-backports)" option...
 |
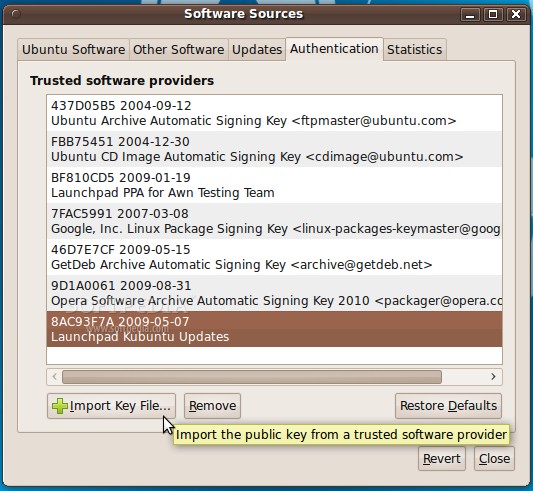
Right click HERE and choose the "Save Link As..." option, in order to save the key file on your desktop. Then, go to the fourth tab, "Authentication," click the "Import Key File" button, navigate to the location where you've just saved the key file (File System/home/YOURUSERNAME/Desktop) and double click it. You will immediately see a new entry called "8AC93F7A 2009-05-07 Launchpad Kubuntu Updates"...
 |
Quick Note: Please replace "YOURUSERNAME" in the above path, with your username!
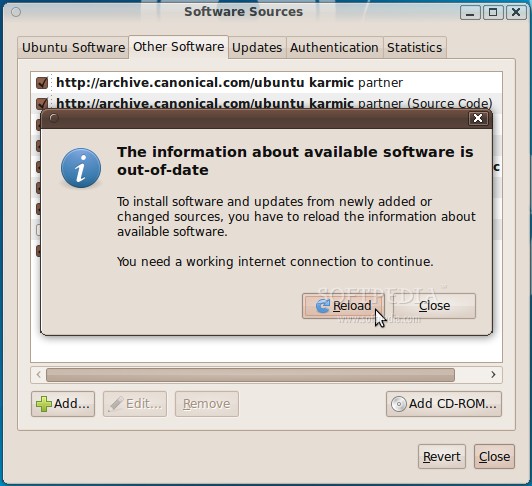
Then click on the "Close" button of the main window. It will ask you if you want to reload the information about available software, so click the "Reload" button and wait for the Software Sources window to close...
 |
Step 2 - Install KDE SC 4.4
All you need to do now is click the link below...
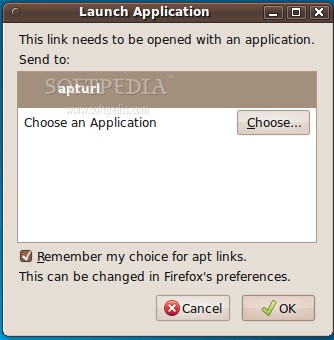
If you use Firefox, it will ask you with what you want to open the apt link. Choose the first option, apturl and make sure you also check the "Remember my choice for apt links." Click OK.
 |
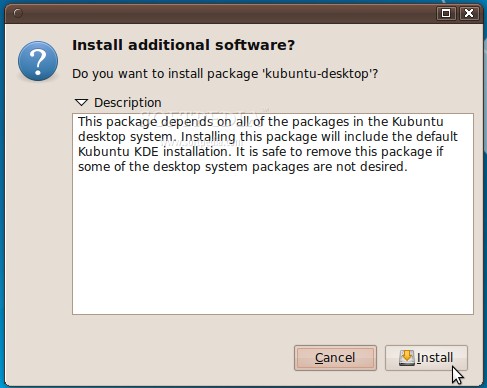
Then click the "Install" button on the new window, to install the KDE SC 4.4 packages (enter your password if asked)...
 |
Wait for the KDE SC 4.4 packages to be downloaded...
 |
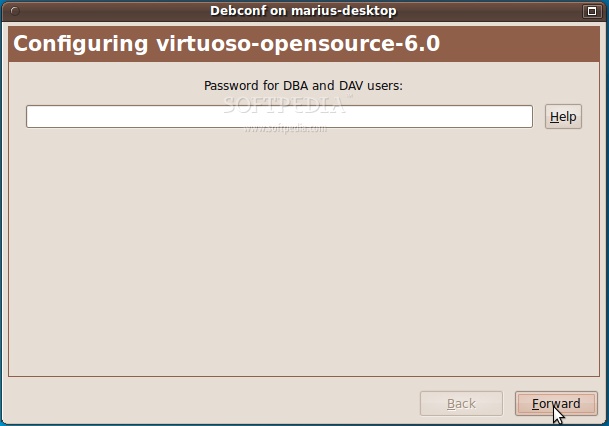
When the download is over, click the "Forward" button for Virtuoso configuration...
 |
After that, you will be prompted to choose a display manager (GDM or KDM). Click on the "Forward" button if you want to keep Ubuntu's login screen (GDM), or select the KDM entry from the drop-down list to install KDE4's login screen. We strongly suggest you choose GDM here...
 |
The installation will start...
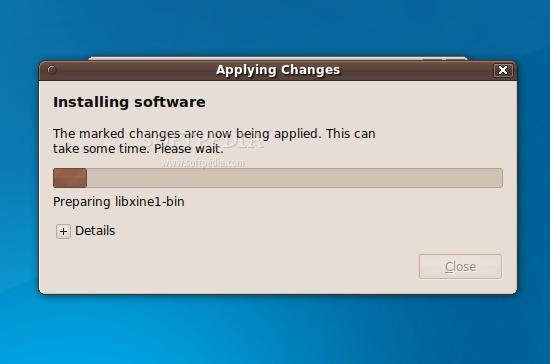 |
...when the installation is over reboot the computer.
At the login screen, if you've chosen to keep Ubuntu's default login screen, go to Options -> Select Session menu and select the KDE entry. Input your username/password and voilà... KDE4 fun on your Ubuntu desktop!
 |
Editor's note: If you have autologin enabled, you will not be able to select the KDE session. So you need to log out and select KDE from "Options -> Select Session."
Optional Step 1 - Restoring the Original Ubuntu Bootsplash
The KDE SC 4.4 installation will overwrite your current Ubuntu boot splash theme. If you don't like the blue Kubuntu splash and you want to restore Ubuntu's, follow the instructions below...
Then click the "Install" button to install the packages (enter your password if asked)...
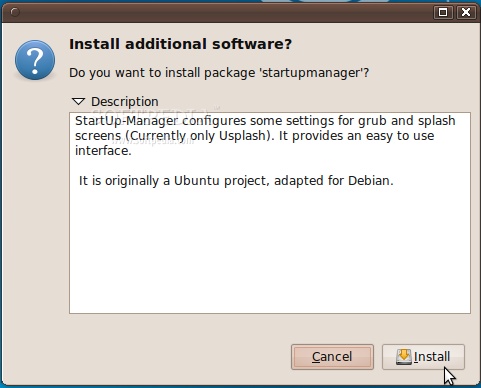 |
When the download is over, the installation will start...
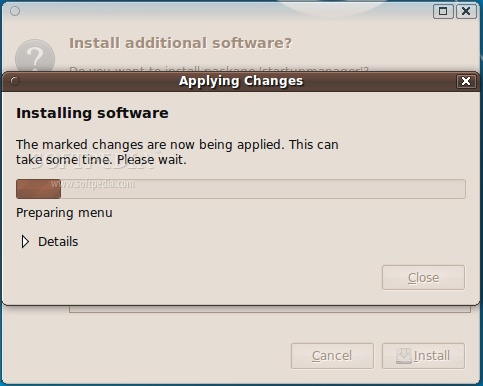 |
When the installation is over go to System -> Administration -> StartUp-Manager...
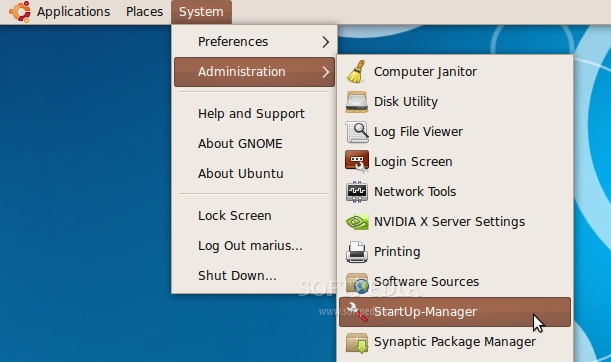 |
...enter your password if asked, and wait for StartUp-Manager to start. Then, go to the second tab, "Appearance," and select the usplash-theme-ubuntu entry from the "Usplash theme" section...
 |
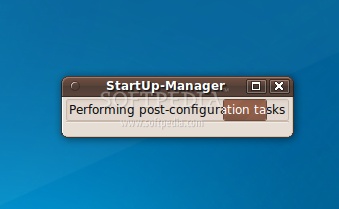 |
...and you're done! If you reboot, you'll notice that Ubuntu's boot splash is back.
Optional Step 2 - Restoring the Original Ubuntu Menu
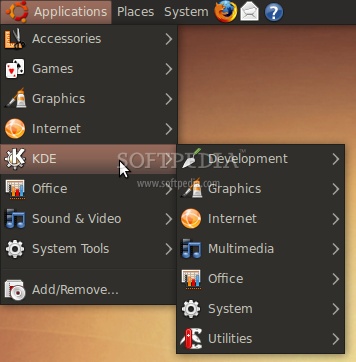
The KDE SC 4.4 installation will mess up your current Ubuntu menu. What does that mean? Well, all the KDE applications will "invade" your GNOME menu. If you don't like this and you want to restore Ubuntu's menu, follow the instructions below...
1. Click HERE to download Gnome Menu Extended. Get the "Ubuntu DEB ALL" file!
2. Save the file on your desktop.
3. Double click the file and install it (input your password when asked).
That's it! All the KDE applications will be stored in a single entry in the GNOME menu...
 |
You can do the same thing on KDE, for the GNOME applications, if you download the K Menu Gnome software!
If you encounter any issues with the tutorial, do not hesitate to use our commenting system below. Read more...


